How to develop a Shopify theme: An Introduction
Learning how to develop a Shopify theme can be a crucial first step in your journey towards a fully-fledged career in Shopify development. Currently, there are about 2.1 million daily active users on Shopify, and thousands of stores, each running their own distinct theme.
If you know how to create your own themes, you can sell them on marketplaces, build your own website and advertise your skills as a theme developer, or even design a portfolio for your new career.
So, where exactly do you get started?
Step 1: Brush up On Your Shopify Knowledge
First things first, you’ll need an extensive knowledge of the Shopify ecosystem, and the Liquid development language if you’re going to get anywhere with Shopify theme development. The Shopify blog has tons of great resources you can check out, but we’d definitely recommend taking a course or two in Liquid if you’re a complete beginner.
Liquid is a readable and highly expressive Ruby-based language, responsible for powering all Shopify themes. Liquid uses placeholder constructs in order to access the given data in a store, and output that data through a template. You can learn more about the concept with these handy resources:
- Shopify’s Liquid Reference Documentation
- Shopify Theme Kit
- Shopify Theme Template documentation
- Shopify Design Tutorials
You can also check out the Shopify Partner academy, if you’re looking to learn a little bit more about the full Shopify ecosystem in general. In particular, you can take the Design and Theming fundamentals course at the academy to learn how to use the front-end development tools on Shopify to your advantage, and learn the basics of installing and developing themes.
Step 2: Familiarize Yourself with the Essentials
Once you’ve gathered as much Shopify education as you can stomach, the next step is getting to know some essential tools. The Shopify CLI, or the Theme Kit will be the first tool you need.
Shopify CLI will replace Theme Kit for most theming tasks, but you’ll need Theme Kit if you’re working on a particularly old theme for any reason. The CLI (Command Line Interface) is the tool you use as a Shopify developer to tell Shopify what you want it to do via your theme. There are tools out there for non-developers which allow you to edit themes in a drag-and-drop environment, but the CLI will give you a more granular level of control.
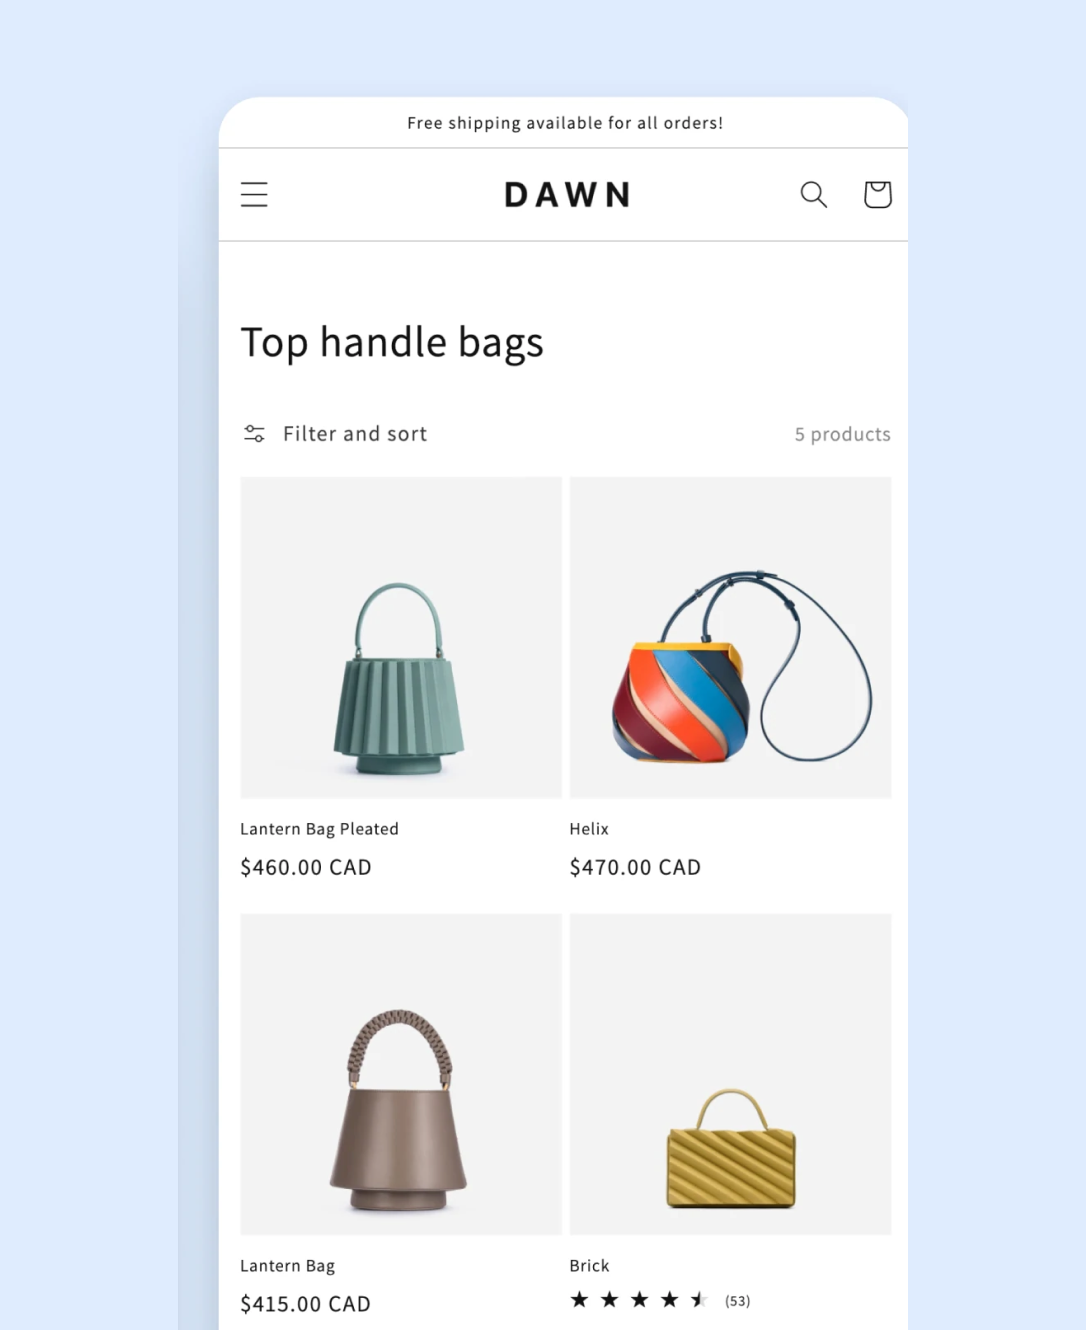
Another tool you’ll need is the “Dawn theme”. This is basically the reference theme or framework you’ll use for designing your store. You can clone this theme to start making changes and building your own theme through the Shopify CLI. By “cloning” dawn, you save a copy to the GitHub repository for your local machine.
For reference, GitHub repositories are the files containing a library of any updates and changes you make to your reference theme. It basically tells Shopify what you want to do with a dynamic set of instructions you can change whenever you want.
Shopify has a GitHub integration so you can link the theme you create in GitHub to your Shopify store. Once you’ve got all of these components, the next step is bringing it all together.
Step 3: Building your Shopify Theme
Using your Shopify CLI and Dawn theme, you’ll be using your knowledge of Liquid language to make changes to what your store looks like and what it does. Although Liquid is a new programming language for a lot of users, if you’re already familiar with HTML and CSS, it shouldn’t be too difficult to get your head around this too.
Liquid basically acts as a bridge between the data Shopify holds for your online store, and the code in a customer or website user’s browser. Fortunately, most of the functionality for a shop is already added into the Shopify and the “Dawn” theme you’ll be altering, so you just need to alter the language to determine how the content is going to look.
This up-to-date cheat-sheet will definitely come in handy when you’re working.
Keep in mind, if you’ve never built a Shopify theme before, it may take some trial and error for you to achieve your goals. Ideally, you’ll need to take your time, and plan your ecommerce site carefully. Consider:
- How users are going to enter the store (which page they’ll start with)
- What people will be doing on the store and what information they need to see first
- What your customer needs to be able to do on the store, and what their first step will be
- How your customers will click from one page to another and navigate the store
- How many steps it will take to get your customer to where they’re going to be
- Where secondary elements like testimonials and links will appear on a page
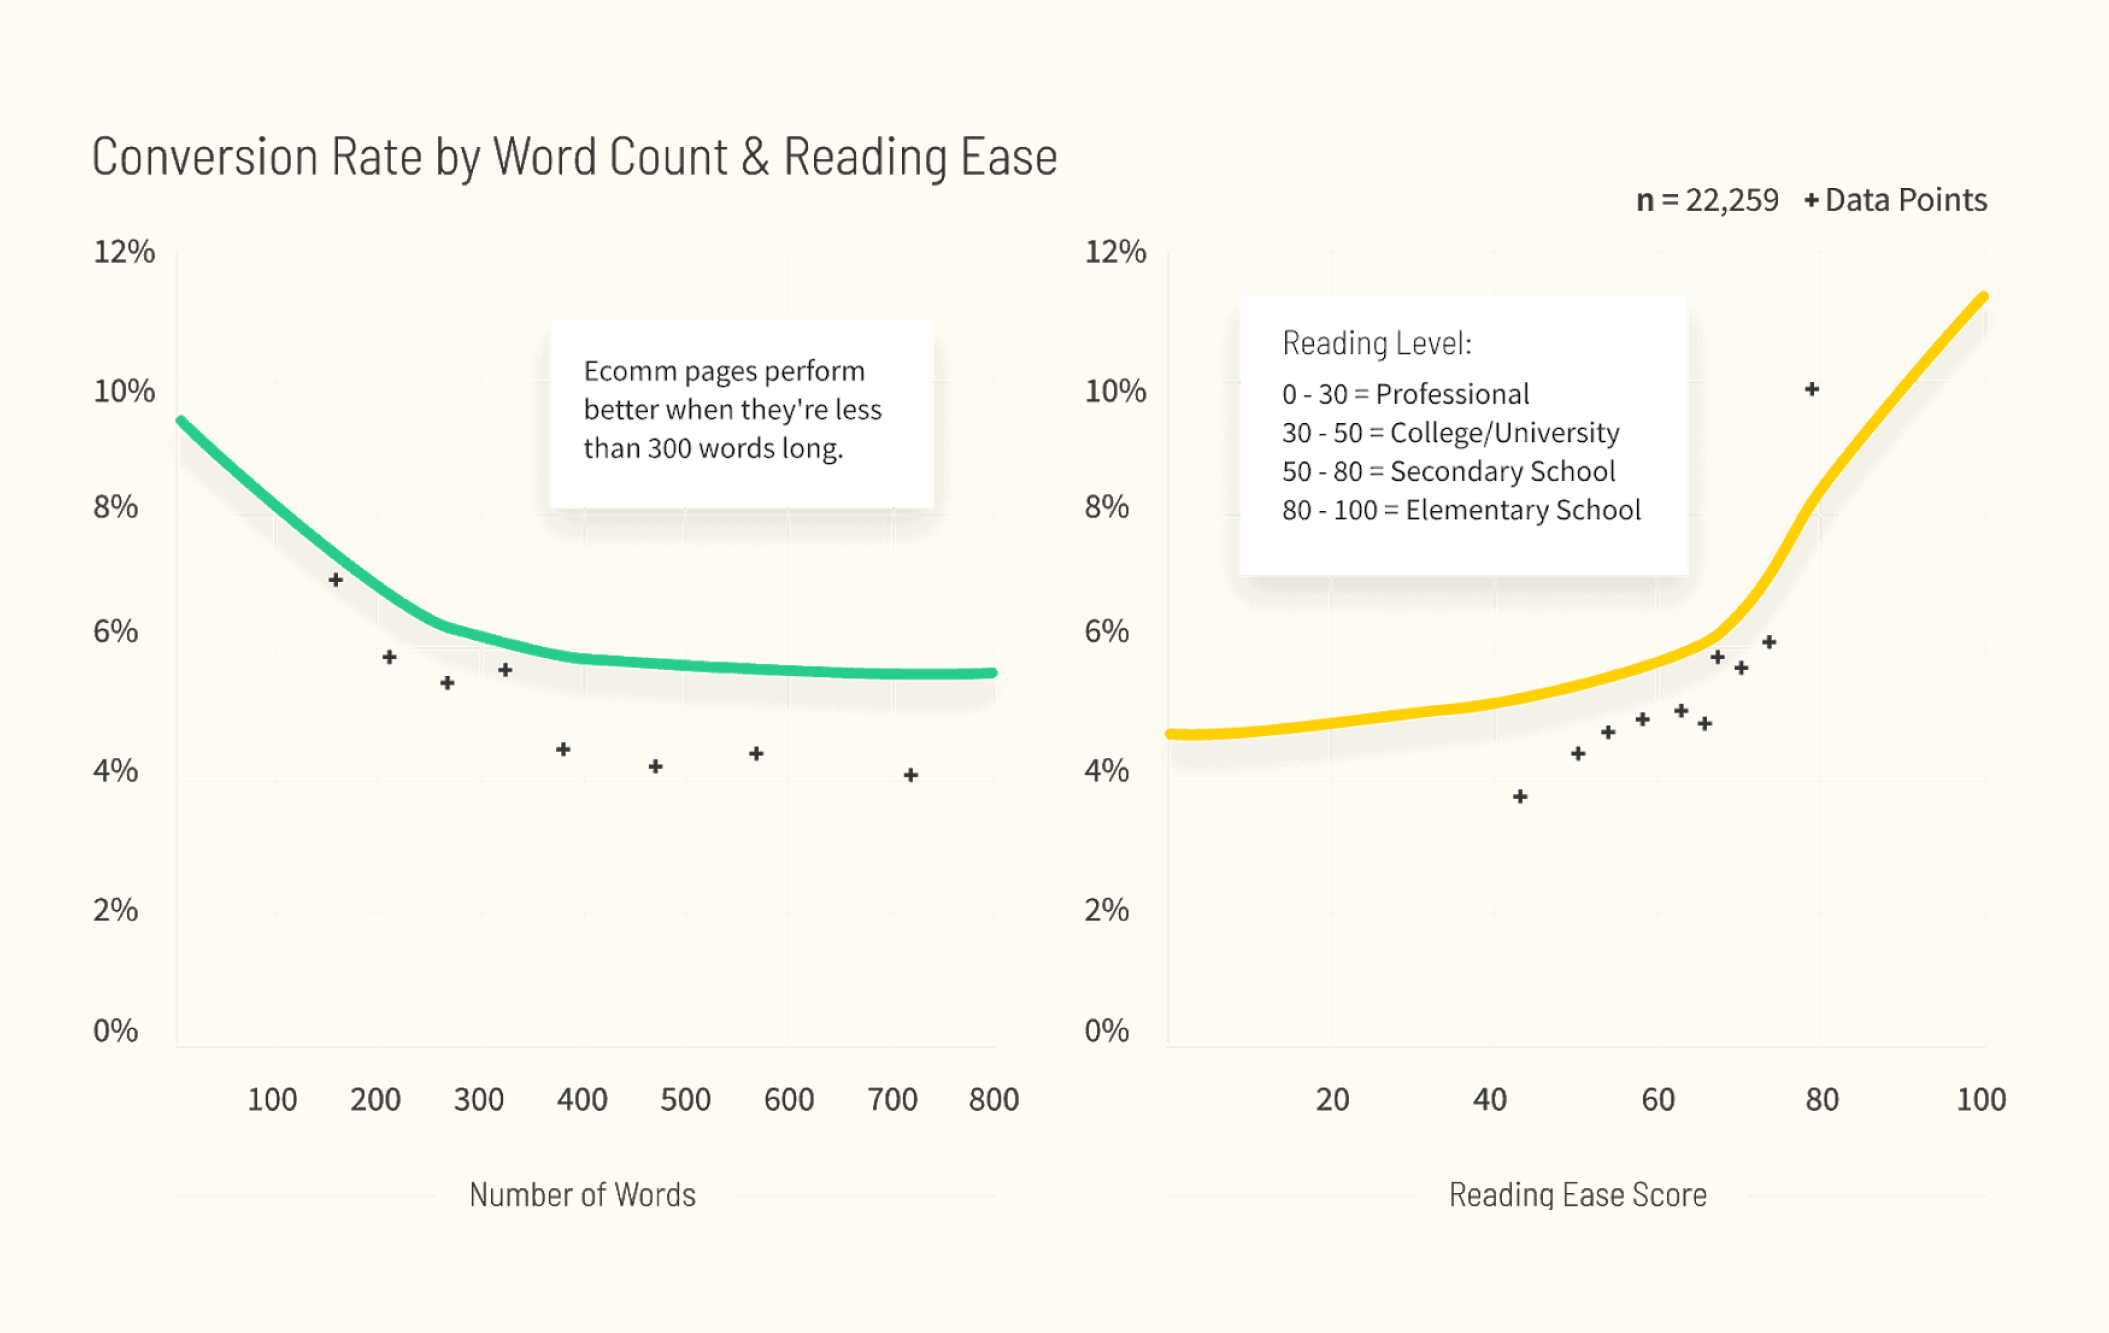
Your plan for your page layout should consider all the conversion best-practices involved in making an ecommerce site a success.
Step 4: Get Creative
Shopify allows you to design a wide range of different page sites when you’re setting up a store. While the majority of themes will include basic elements like landing pages, product pages, collection pages, a homepage, and a checkout page, you’ll still have a lot of freedom to get creative with your design. Experimenting can be a great way to make your Shopify skills stand out.
Shopify recommends looking at existing best-selling themes on the Shopify marketplace to help inspire you. This is also a great way to look for gaps you can fill in the market, and designs you can do a lot better than your competition.
You can also find a host of resources online to help you take your design to the next level. For instance, here’s a helpful guide on using Sass with Shopify. This three-chapter guide will also show you how to make the most of your Git repository for version control and workflows.
Remember, it might take a while to fully bring your theme to life. There are many different parts to a Shopify store which need to be considered each theme. This theme architecture overview will help you to understand a little more about where you need to start planning.
Step 5: Test and Preview
Finally, once you’ve initialized your theme and you’ve gotten to the point where you can authenticate it with Shopify, you’ll be able to preview your work before it goes live. Don’t rush into publishing any themes until you’ve taken this step.
Previewing your work is a crucial step, particularly if you’re new to development. You’ll need to go in expecting the process to involve a lot of experimentation to make sure you can see what really works best for each design and page.
You’ll be able to preview your work and make changes more effectively as you go by creating your theme as a “development theme”.
Start your Theme Development Career
Once you’ve mastered the basics of creating your own Shopify theme, you’ll quickly get into the habit of creating beautiful, high-quality themes. Over time, you’ll be able to design a pretty impressive portfolio, and you can even start applying for freelance or remote working roles for companies in search of a freelance developer.
If you think you have the skills to really stand out as a Shopify developer, you could also apply to become a Shopify expert, and put your new theme-building talents to the test.


Shopify Expert?


