How to Add AR to your Shopify Store: Augmented Reality Experiences
If you’re looking for an exciting new way to upgrade the user experience on your Shopify store, augmented reality (AR) could represent an excellent opportunity. Learning how to add AR to your Shopify store means you can transform your website and product pages with immersive content that allows customers to interact with digital versions of your products like never before.
With augmented reality, you can enable customers to virtually test, try on, and experiment with your products, through smartphones and 360-degree videos. Consumers who can zoom in on, rotate, and explore a product in 3D can make more informed decisions (reducing your risk of returns).
Plus, studies show that customers who view a product with augmented reality are 25% more likely to complete a purchase. Here’s your guide to adding augmented reality to your Shopify store.
The First Step: Creating 3D Models
Probably the most complicated step in learning how to add AR to your Shopify store is creating “3D models” of the items you sell. These are the models you’ll upload to your Shopify website product pages, so customers can view and interact with them.
Unfortunately, just like designing your own Shopify app, or creating a theme from scratch, designing a 3D model can be complex if you don’t have the right experience. While there are apps and tools out there that claim they can help companies design 3D models with just a handful of images, the reality is that the models produced with these tools aren’t always as impressive as you’d hope.
That means unless you have significant experience working with 3D modelling technology, you’ll be better-off working with a Shopify Expert on 3D model development. Here’s an example of what one of our Storetasker Shopify experts created for their ecommerce client:
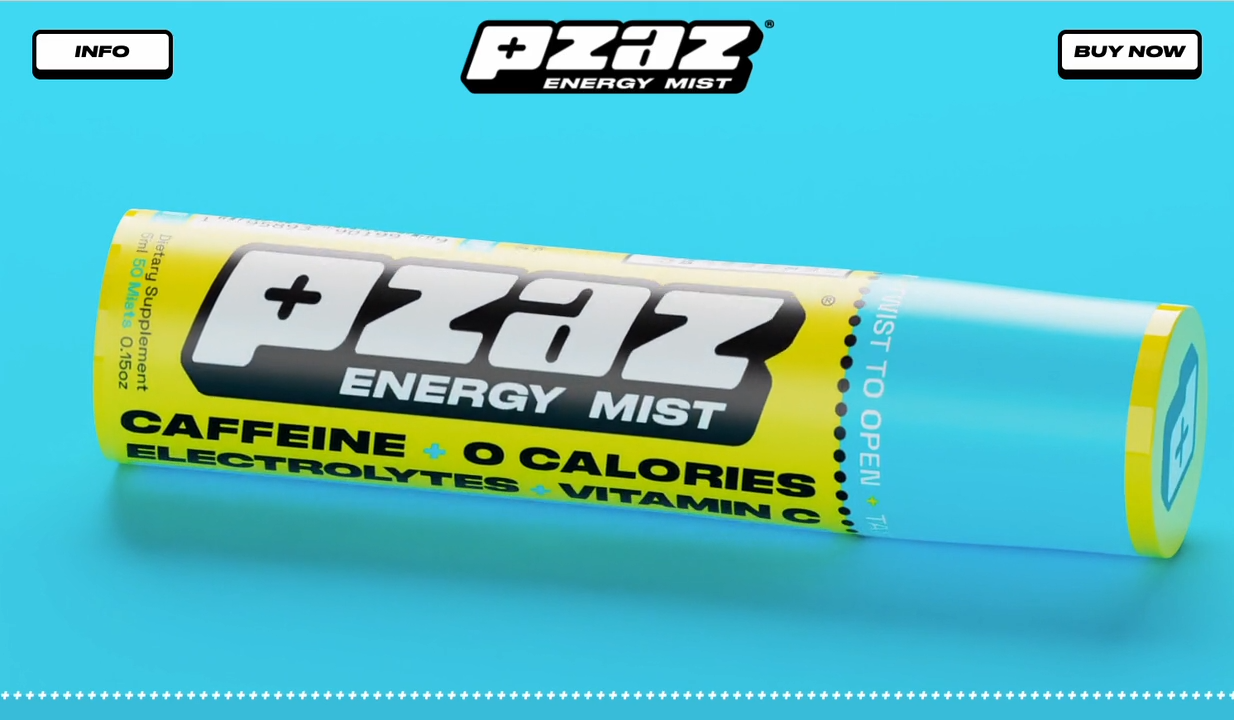
https://resources.storetasker.com/shopify-examples/pzaz-hero
Tips for 3D Model Development
If you do decide to try your hand at 3D modelling yourself, there are a few best practices you can try to boost your chances of success. The first thing we recommend is choosing the right 3D modelling app or software. For instance, a Shopify Partner, Angle 3D offers access to an integrated Shopify app that can provide you with a comprehensive 3D product customization experience.
You can also search for 3D model customizers on the Shopify app marketplace, if you’re looking for something that integrates directly with your ecommerce platform.
Aside from choosing the right software, make sure you:
Have access to the physical product:
Building 3D models from photos or mock-ups of your product can be difficult. It’s often hard to get a clear view of the materials and textures you need to replicate with this strategy, so consider ordering samples, or sending samples to the 3D modelling expert you’re going to be working with.
Take photos and videos from multiple angles:
Most 3D modelling tools will rely on photos and videos to help construct your model. Taking photos from multiple angles will give you a more comprehensive 360-degree view of the product. Plus, it ensures you have plenty of reference material to work with when adding textures and layers.
Start with Simple Shapes
Often, most beginners find it easier to design 3D models when they start with a simple geometric shape, and gradually increase the complexity. The smaller the “polygons” used in your model, the smoother your outcome will be.
Additionally, it’s worth remembering that the lower your 3D model’s “polycount” is, the faster most devices will be able to load your 3D images. The key is to find the right balance between a low polycount, and a smooth image.
Optimize for the web:
To add AR to your Shopify store, and deliver an excellent user experience, you need a high-quality file that’s optimized and compressed. Keep in mind that Shopify does place a size limit on 3D models you can upload, depending on your plan. Try to stick between 4MB and 15MB for the overall file size where possible. Your Shopify developer should be able to help you with this.
Focus heavily on textures:
High-quality, optimized textures, created as JPG files are excellent for adding depth to your 3D models. Remember, a 3D experience is all about tricking the eye with the use of shadows and light. The more textures and layers your model has, the more realistic it will appear.
Modern texturing tools such as Substance Painter are excellent for adding realistic components to your image. Alternatively, you can work with a 3D developer who has experience with texturing.
Adding AR to Shopify Product and Website Pages: First Steps
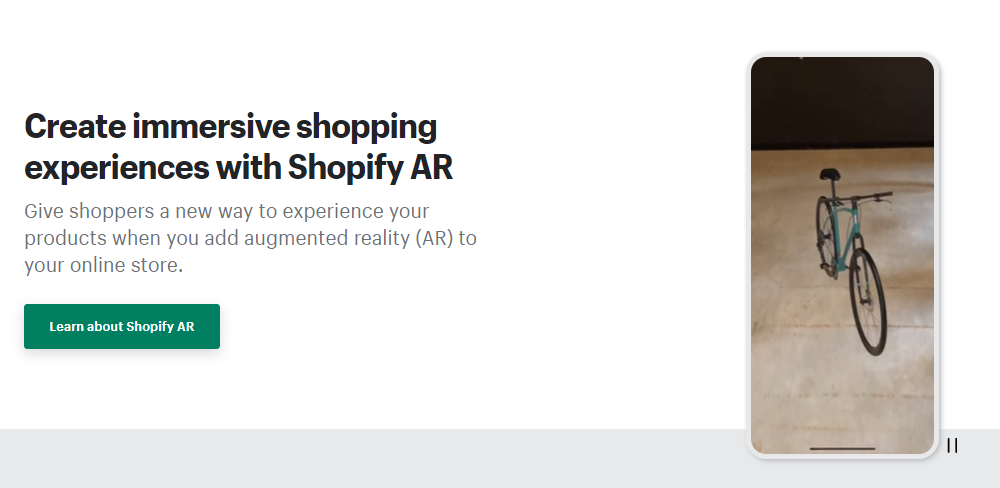
The good news for companies learning how to add AR to Shopify store pages, is that the ecommerce platform already supports 3D media. Shopify has its own dedicated AR solution, and many of the premium (as well as some free) themes will support 3D models out of the box.
However, before you start adding your models to Shopify, there are a few things to keep in mind.
- Use Shopify’s Guidelines: To help organizations deliver powerful augmented reality ecommerce experiences, Shopify has created some helpful resources. There’s a guide to 3D model creation for beginners on the Shopify Help website. Plus, Shopify has a dedicated checklist for Shopify partners who want to create 3D models for merchants.
- Ensure your Theme supports 3D models: Many Shopify themes already natively support 3D models for augmented reality ecommerce. However, there are some themes that won’t support this function. It’s worth double-checking the features of your theme before you start developing. If your theme doesn’t support 3D models, you can consider switching to an alternative, or building a custom theme from scratch with a developer.
- Know your video and 3D model hosting limits: Hosting 3D models on a website requires more processing power than hosting a standard image. That’s why Shopify limits the size and number of 3D models and videos you can have on product and file pages. The limit you’ll have depends on the Shopify plan you’re using. Starter and Basic offer a limit of 250, Shopify’s limit is 1000, and Advanced Shopify supports up to 5000 models.
Keep in mind, you’ll be able to upgrade your Shopify hosting limits, and access more customization options for your store by upgrading to Shopify Plus, the Enterprise plan.
How to Add AR to Shopify Store Pages
Once you’ve followed the checklist above, and created your 3D models, you’re ready to upload them to your Shopify store. As mentioned above, most Shopify themes will allow you to upload 3D models that users can zoom in on, spin, and inspect in multiple dimensions.
If your theme supports 3D models, adding one to your product pages is simple. All you need to do is access your Shopify store admin dashboard, then navigate to the “Products” page.
Select “All Products” and choose the specific item you want to add your 3D media to.

Within the “Media” section of the product page, where you would normally add images and videos of your product, you’ll see the option to upload a 3D model file. For the best performance, consider using the .GLB file format, and ensure your file size remains within the range of 6MB to 15MB.
You can upload your 3D model either straight from your device, or enter an URL you’re using to host your 3D model file. Once you’ve uploaded your model, click “Add file”, then click “Select existing” to review and select the model from your media files.
Remember, just like when you’re uploading product photos and videos for your product pages, it’s a good idea to include alt-text for your 3D model. This ensures that users will still be able understand what kind of content you’re attempting to show, even if the model doesn’t load.
Unlock the Benefits of Augmented Reality
As one of the world’s leading ecommerce platforms, Shopify is constantly searching for ways to help ecommerce leaders create more immersive and engaging experiences for customers. This includes ensuring companies can experiment with AR technologies.
If you’re hoping to upgrade your conversions and differentiate your stores from competitors this year, investing in AR experiences could be a great strategy. One study even found customers who used AR when visiting an ecommerce site spent 20% more time browsing, and viewed a larger number of products than their counterparts.
Of course, taking full advantage of augmented reality isn’t simple. If you’ve never tried 3D modelling before, it’s best to leave the hard work to the experts. Reach out to Storetasker today to learn how we can pair you with a Shopify expert that excels in creating 3D experiences.


Shopify Expert?


