Setting Up Google Analytics 4 for Shopify: A Step by Step Guide

Data is the key to success for any ecommerce store owner. The more information you can collect about your target audience, their purchasing behaviors, and their buying journey, the more you can adapt your Shopify store to increase sales and conversions.
While Shopify offers its own analytical tools to business leaders, as well as a range of apps and add-ons available in the Shopify marketplace, perhaps the best way to upgrade your Shopify store insights is to simply leverage Google Analytics.
The world-renowned reporting tool from Google integrates seamlessly with the Shopify platform, and comes with a host of useful metrics to guide your sales and marketing campaigns.
So, how do you set up Google Analytics for your Shopify store?
Read on to find out.
Why Use Google Analytics on Your Shopify Store?
Before we provide the step-by-step instructions you’ll need to leverage the latest version of Google Analytics on your Shopify store, it’s worth defining why you should use “GA” in the first place. After all, as mentioned above, Shopify’s Analytics dashboard offers some useful insights on its own.
If you’re on any plan above the Basic plan, you’ll be able to access finance reports, sales analytics, site activity reports, and acquisition reports. More advanced Shopify plans also come with enhanced analytics, for behind-the-scenes insights into your customer demographics and top-selling products.
However, as valuable as Shopify’s analytical tools might be, they just can’t compare with the insights you get from the latest version of Google Analytics (GA 4). Google Analytics gives you a fully customizable dashboard where you can collect extensive information about everything from page views, to bounce rates, to the average time customers spend on your site.
Additionally, while Shopify Analytics only collects information about your online store, GA provides advanced tracking capabilities, so you can learn more about the performance of your ad campaigns, and where your customers are coming from.
Simply put, Google Analytics takes your customer insights to the next level.
How to Add Google Analytics to Shopify: Step by Step
The good news is that adding Google Analytics to your Shopify store is relatively straightforward. All you need is a Google account, a Shopify account, and a little time to set everything up. Keep in mind, if you’ve previously added Google Analytics to your store, you might need to update your integration if you’re still operating on the “Universal Analytics” version.
GA 4 is the latest version of Google Analytics (at the time of writing), and it offers more advanced insights for ecommerce business owners.
Here’s how you can get started:
Step 1: Create your Google Account
The first step in using Google Analytics on your Shopify account is creating an account with Google. If you have an account with Google Workspace or Gmail already, you can use this, and skip to “step 2”. If you don’t have any account with Google yet, click here and enter your details.
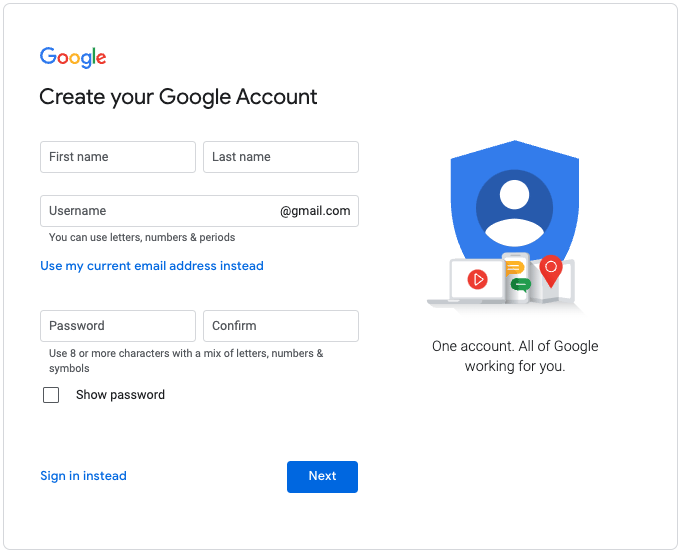
You won’t need a Gmail address to create a Google account, but you will need to provide some basic information to Google, such as your phone number, and your name. You should also enter a recovery email address in case you forget your password.
Step 2: Setting up your Analytics
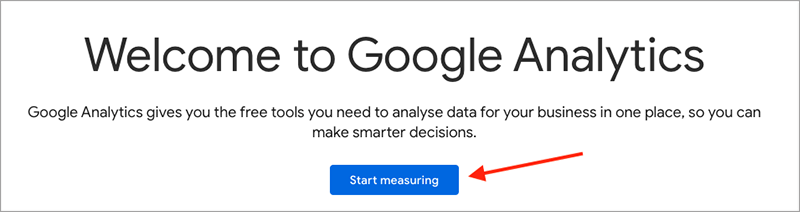
Once you have your Google account, sign into Google Analytics using your details. You’ll see a page appear with a button that says “Start Measuring”. Click on this, and you’ll be taken to the Google Analytics set-up screen.
You’ll need to enter an account name for your account, and choose the kind of data you want to share with Google. After that, you’ll be taken to the screen to set up a Google Property. A “property” is essentially a profile dedicated to managing all the information associated with a specific website. If you have multiple Shopify sites, you may need to create various different properties.
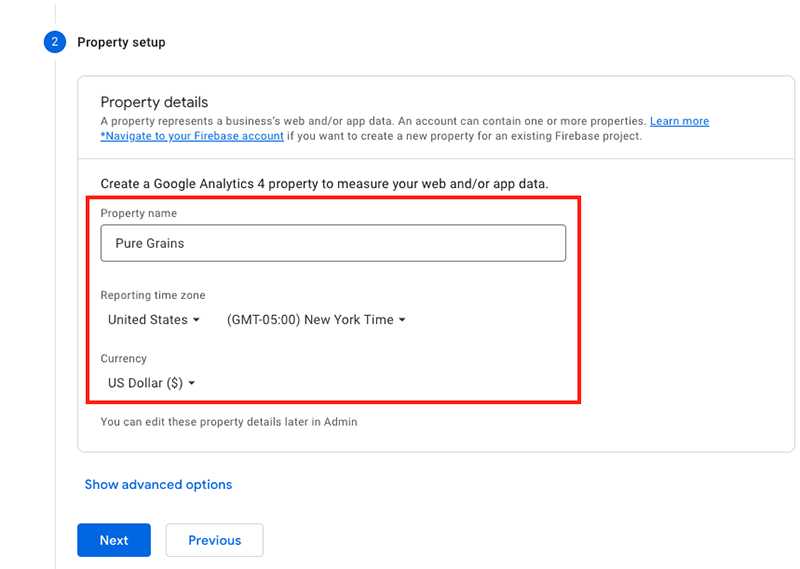
Enter the name of your business in the field provided, choose your time zone, and click “Next”. You’ll then have an opportunity to enter some specific information about your business, such as which industry you work in, and your company size. You can skip this step if you prefer.
Next, click “Create” and accept Google’s terms of service. If your company or your customers are located in the EU or the UK, you’ll also need to check the box for accepting the data processing terms defined by GDPR. This will take you to the admin page of your Google Analytics account for your new Shopify property.
Step 3: Connecting Google Analytics to Shopify
Once you’re in your Google Analytics dashboard for your new property, go to the “choose a platform” section, and click on the “web” button. You’ll see a page which allows you to create a data stream between Google analytics, and your website, or Shopify store.
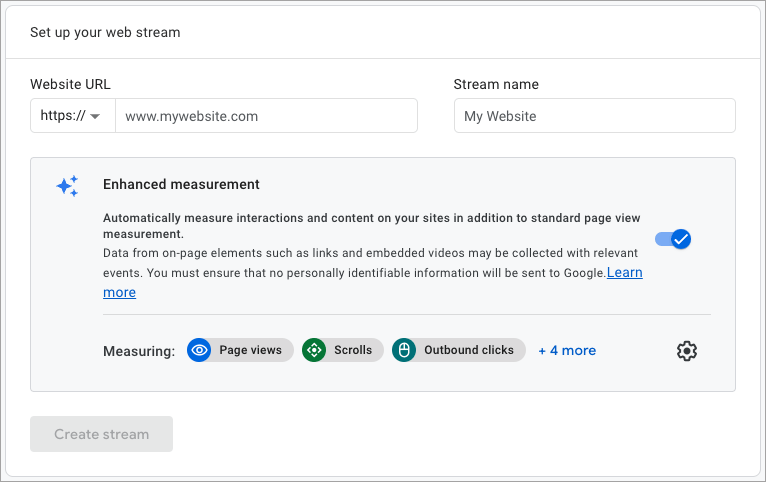
You’ll need to enter your website URL, and the name of your business into the sections given, then click on the “Create Stream” option. This will generate a stream for you, complete with a “Measurement ID” you’ll need to remember for the next step.
Now it’s time to log into your Shopify account, or create one if you don’t have a Shopify account already. Set up your account, and click into the “Online Store” section on your dashboard. Next click on “Preferences” and scroll down to the Google Analytics section. Click on “Manage Pixel Here”:

If you haven’t added the Google Sales channel to your store already, you’ll be prompted to do so with the next pop-up. You can simply click “Add sales channel” to connect the two entities. Following this, click the “Connect” button, and log into your Google account.
An option should appear to allow you to connect a Google Analytics Property. Here, you can scroll down to the property you just set up in Google Analytics, using the drop-down menu. Ensure the ID for the property manages the one you made a note of earlier.
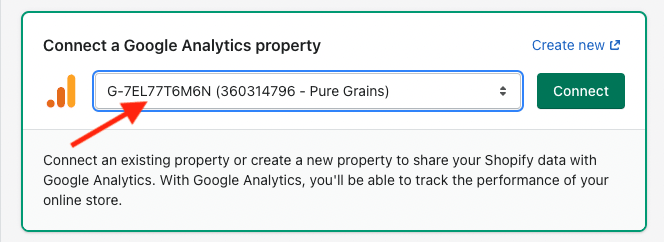
Finish the connection by clicking “Connect”.
Testing your Google Analytics Connection
Now you’ve linked your Google Analytics account to your Shopify store; it’s worth double-checking that everything is working exactly as it should. The easiest way to do this is simply to visit your store domain on your web browser. Move through some of your pages, and interact with your store as if you were a customer. This should create some data for Google Analytics to gather.
Go back to your Google Analytics page, and click on “Real-Time” in the Analytics menu. This will show you what’s currently happening on your store, as well as what has happened on your store in the last 30 minutes. If you see new data, you’ll know your connection is working.
Keep in mind, you can set up multiple different views in your Google Analytics properties, including raw/unfiltered views (your data unaltered), filtered or custom views, and test views.
It’s also worth thinking about whether you want to set up “enhanced analytics” for your ecommerce store. While this can provide you with more information about your website visitors and ecommerce site, it’s worth getting used to the basic features of Google Analytics first, before you do anything else.
Upgrading your Shopify Analytics
As you can see, enhancing your insights into your Shopify store with Google Analytics is a relatively straightforward process. You don’t need any coding or programming knowledge to get started, and you can use the GA service for free!
Just keep in mind, you’ll need to monitor your analytics regularly, and pay attention to the metrics to ensure you’re making the right decisions when growing your ecommerce website. If you don’t have time to take full advantage of your insights, you might consider hiring a Shopify site manager to help you, or a Shopify Optimization expert.


Shopify Expert?


