An Introduction to Shopify Sections: What They are and How to Use Them
There are many reasons why Shopify is one of the top ecommerce store builders in the world today. Not only is it brimming with useful features, packed into an easy-to-use interface, but the platform is constantly evolving, introducing new tools and capabilities for entrepreneurs.
While fully taking advantage of all the functionality Shopify has to offer might mean working with an expert, or learning about Liquid code, you don’t necessarily need to be a development whiz to customize your store. That’s particularly true now Shopify has introduced “Online Store 2.0”, the latest version of the Shopify interface.
Rolled out in 2021, Online Store 2.0 delivered a ton of new themes that give business leaders and designers more opportunities to add, adjust and customize sections of every page template.
Today, we’re going to cover everything you should know about sections, and how to use them.
What are Shopify Sections? An Introduction
Let’s start with the basics: What are Shopify Sections?
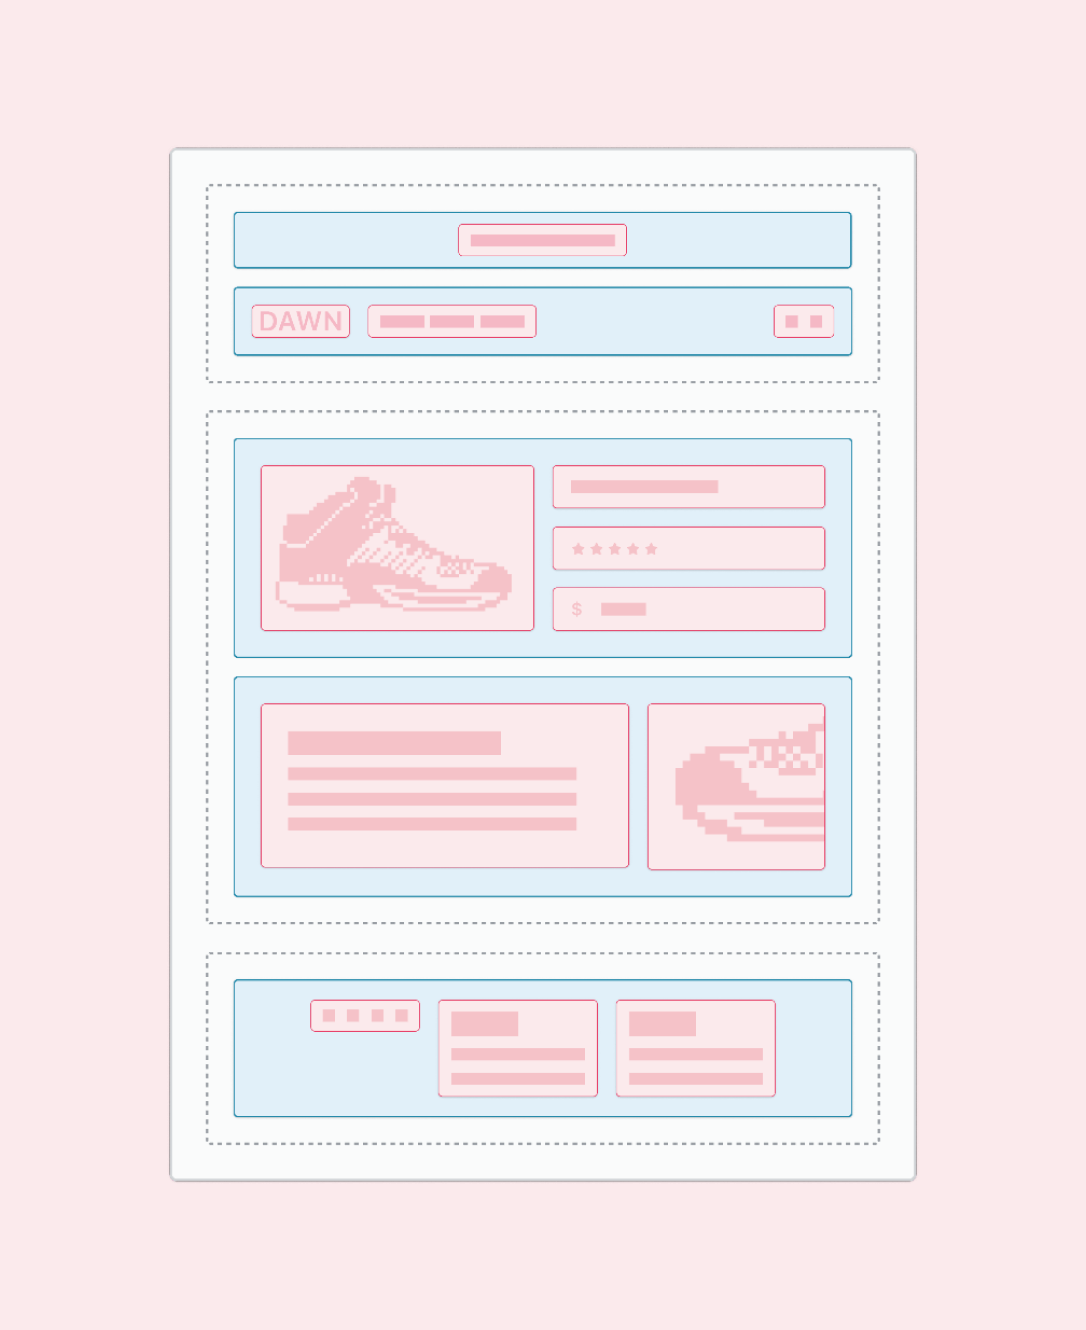
Sections are basically customizable components within the page templates included for any modern Shopify theme. They can be edited, reordered, added, and removed to adjust your store’s layout to your specific needs, using the Shopify theme editor.
Sections aren’t an entirely new addition to Shopify. They’ve been around since 2016, providing users with a code-free way to make changes to theme designs. However, sections have become a lot more versatile in recent years. In the original Shopify themes, users could customize each section on a page template as much as the theme allowed, updating headings, text, images, colors, and buttons.
Each section includes additional components known as “blocks”, which can also be moved within the section to alter the layout even further. Unfortunately, in the past, the homepage was the only page users could edit with Shopify sections, until Online Store 2.0.
When Online Store 2.0 was introduced, it included a new update known as “Sections Everywhere”, with new themes that allow users to reorder and manage dynamic sections on every page template within their theme. By introducing new JSON template files into themes, Shopify made its stores infinitely more customizable.
However, it is worth noting you can only take full advantage of the “Sections Everywhere” option if you’re using an Online Store 2.0 theme. The legacy versions of traditional themes don’t offer this functionality, so you may need to update if you’re a bit behind.
Using Shopify Sections and Blocks in the Theme Editor
Editing your Shopify theme is one of the best ways to make your online store stand out, showcase your unique brand, and eliminate any unnecessary components from your pages. Thanks to the Shopify Theme Editor, you don’t always need developer or coding knowledge to make changes to your store’s design. However, it’s worth noting you’ll always be able to accomplish a lot more with a custom theme and a Shopify expert.
If you want to make some basic changes to your store layout and appearance using sections and blocks, the process is pretty straightforward. Start by logging into your Shopify admin account, and clicking on your “Themes” section. Load up the Theme Editor by clicking on the “Edit” option next to the theme you’re currently using.
Once you enter the Theme Editor, you can start making customizations by deciding which elements you want to include in each page. If you want to include a new segment in your page, scroll through the menu on the left-hand side of the Theme Editor page, until you see “Add Section”.
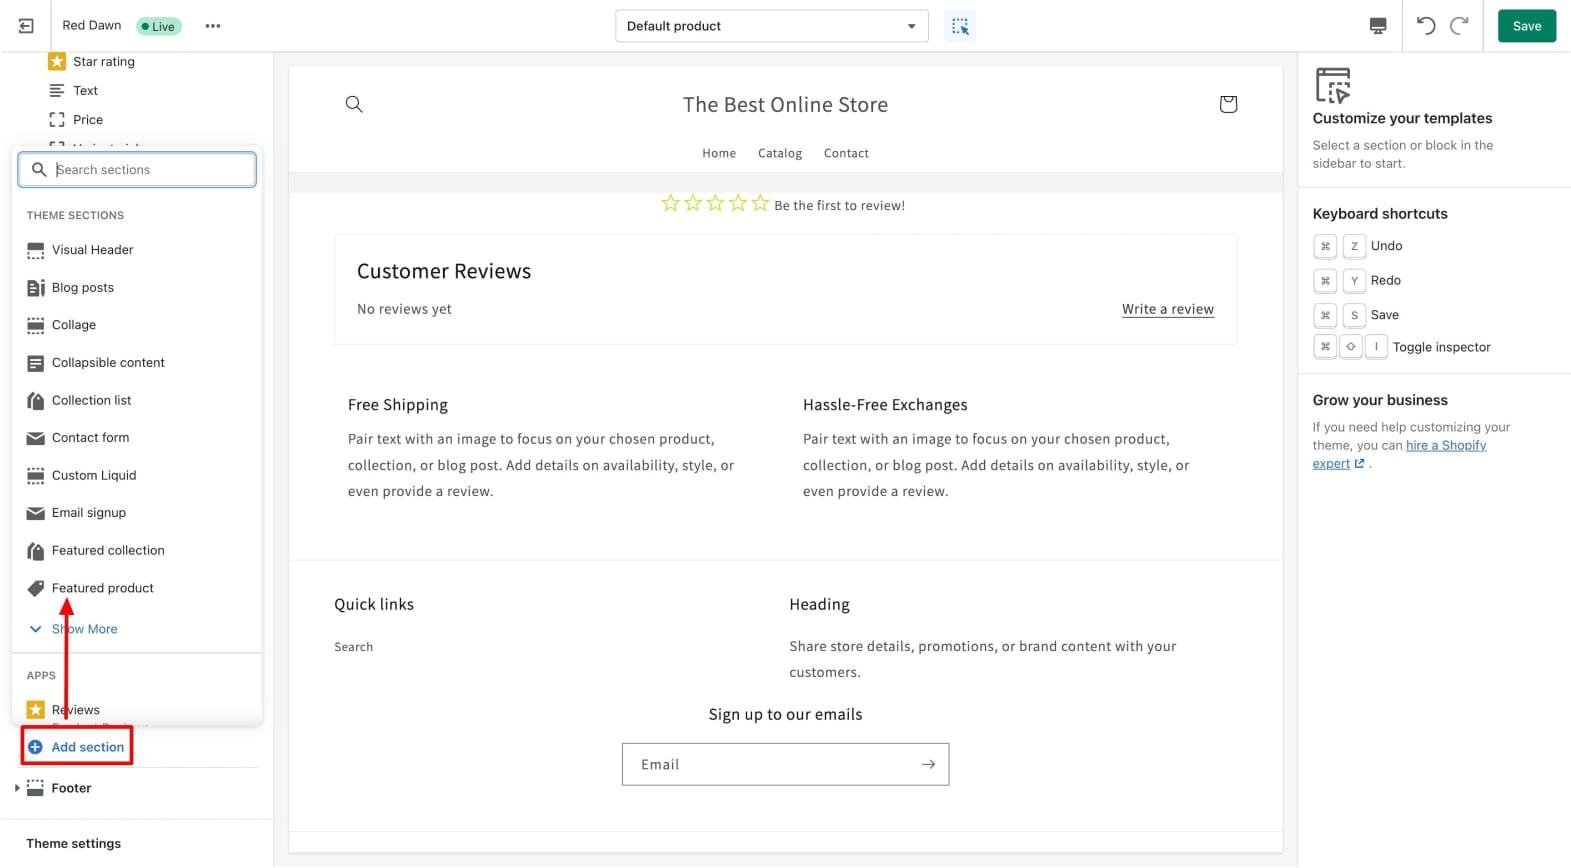
You can choose from a list of available sections, based on the theme you’re using. Options range from photo collages to blog posts, collection lists, and even contact forms. Once you choose your new section, it will appear on the bottom of your current page, and you can click and drag the section to move it wherever you want.
To add components into the sections (known as blocks), you’ll follow a similar process. Click on the section you want to edit, and click on “Add Block”. Once again, the blocks available to use will vary depending on the type of section you’ve chosen. For instance, if you choose a “Product Information” section, you can select blocks covering everything from text, to images, and collapsible rows.
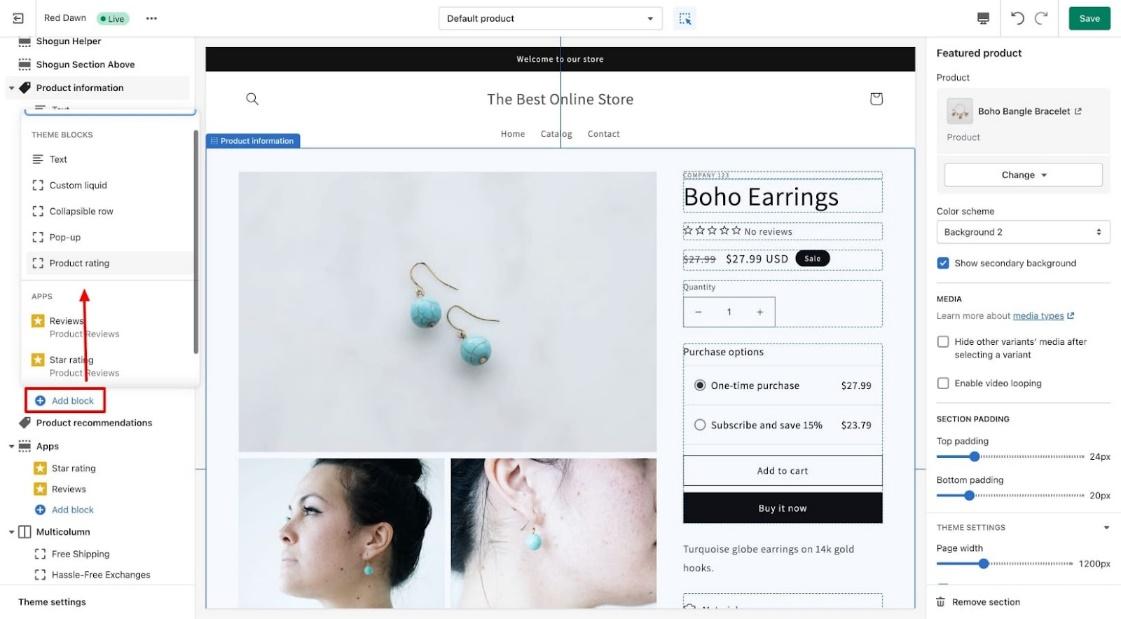
Your block will automatically appear at the bottom of the section you’ve chosen, but you can also drag and drop it to wherever you want it to be.
Editing and Removing Blocks or Sections
Removing an entire section or block from your page is even simpler than adding one. All you need to do is click on the component you want to get rid of within the theme editor, and click on “Remove Section” or “Remove Block”. The button will appear on the bottom right corner. You can also just click the trash can icon if you prefer.
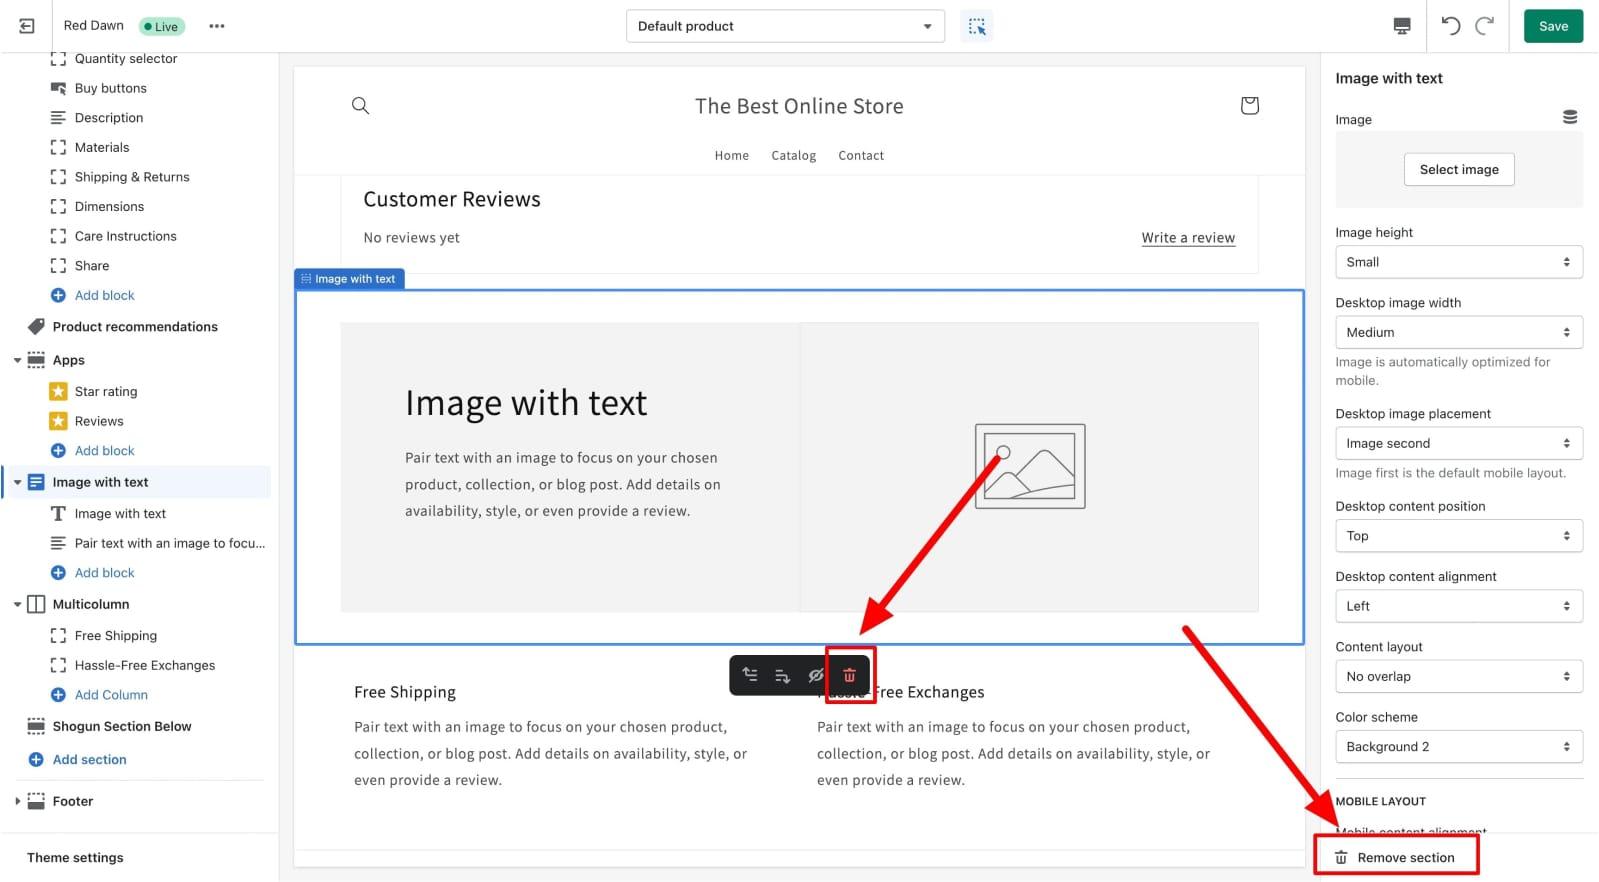
If you want to move or reposition any block or section, click on the six dot icon for the component, and drag it to wherever you like. The preview pane should zoom out while you move sections, to give you a good view of where your component is going to appear.
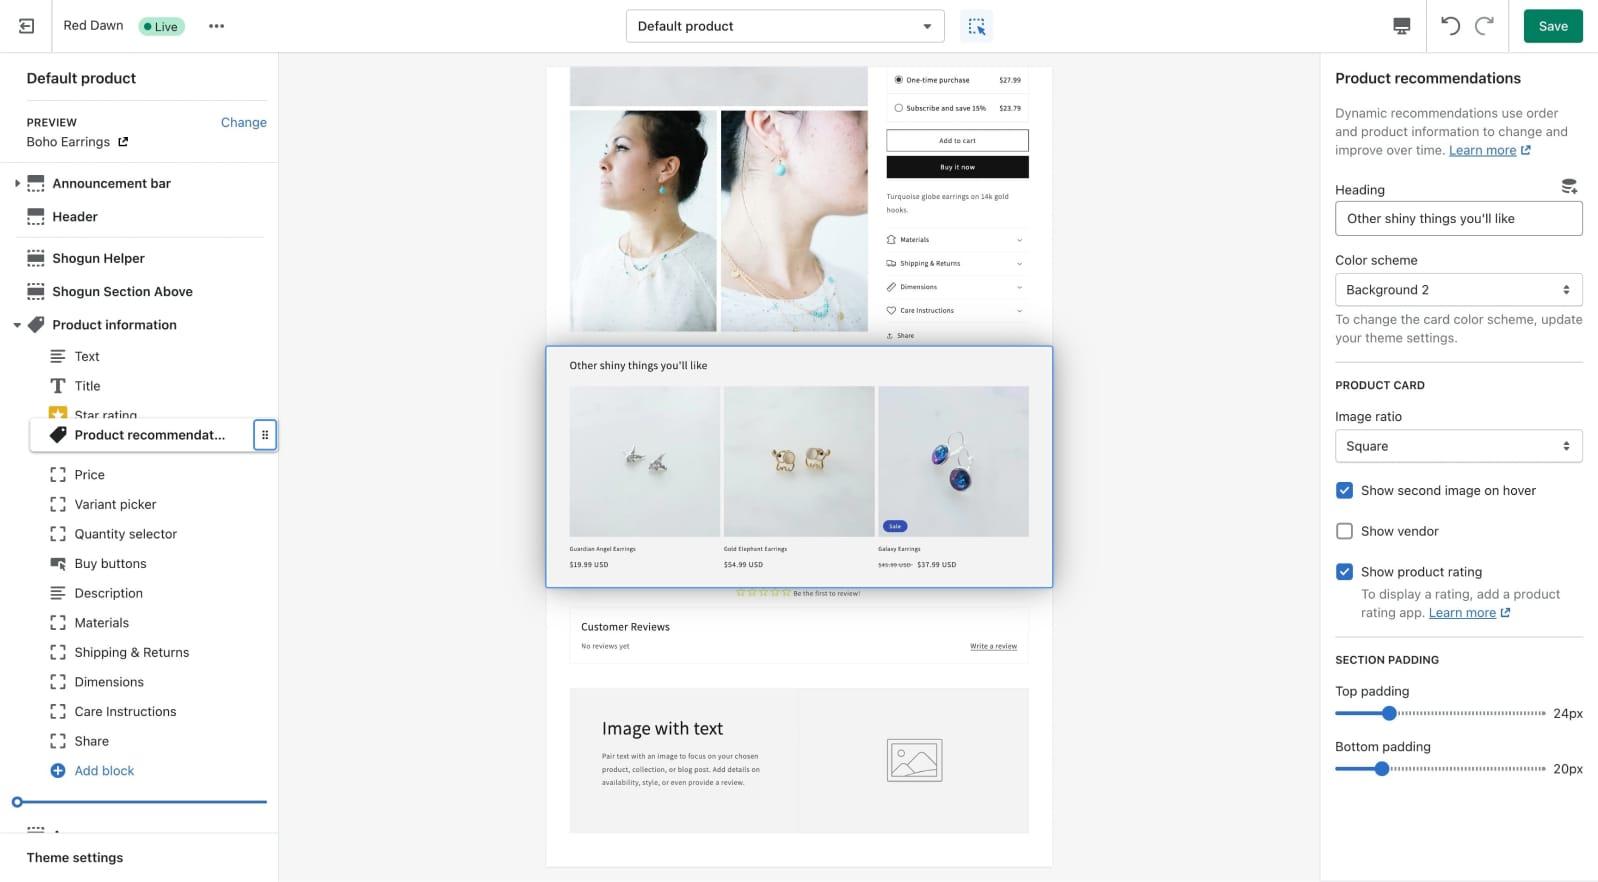
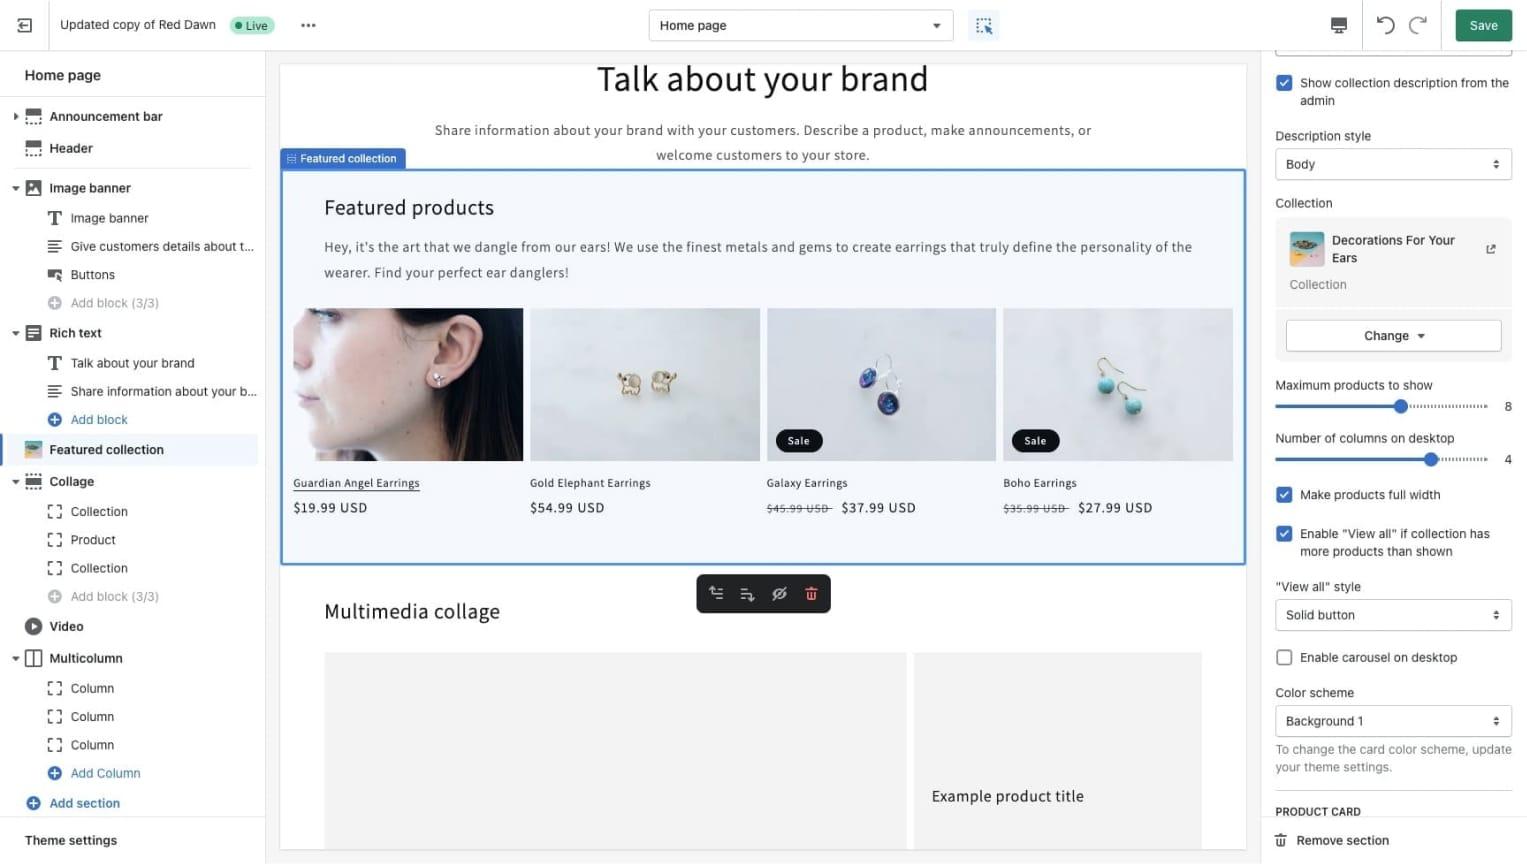
If you want to customize your sections or blocks to ensure they work well with your layout, just click on the component, and a customization menu should appear on the right-hand side of the screen.
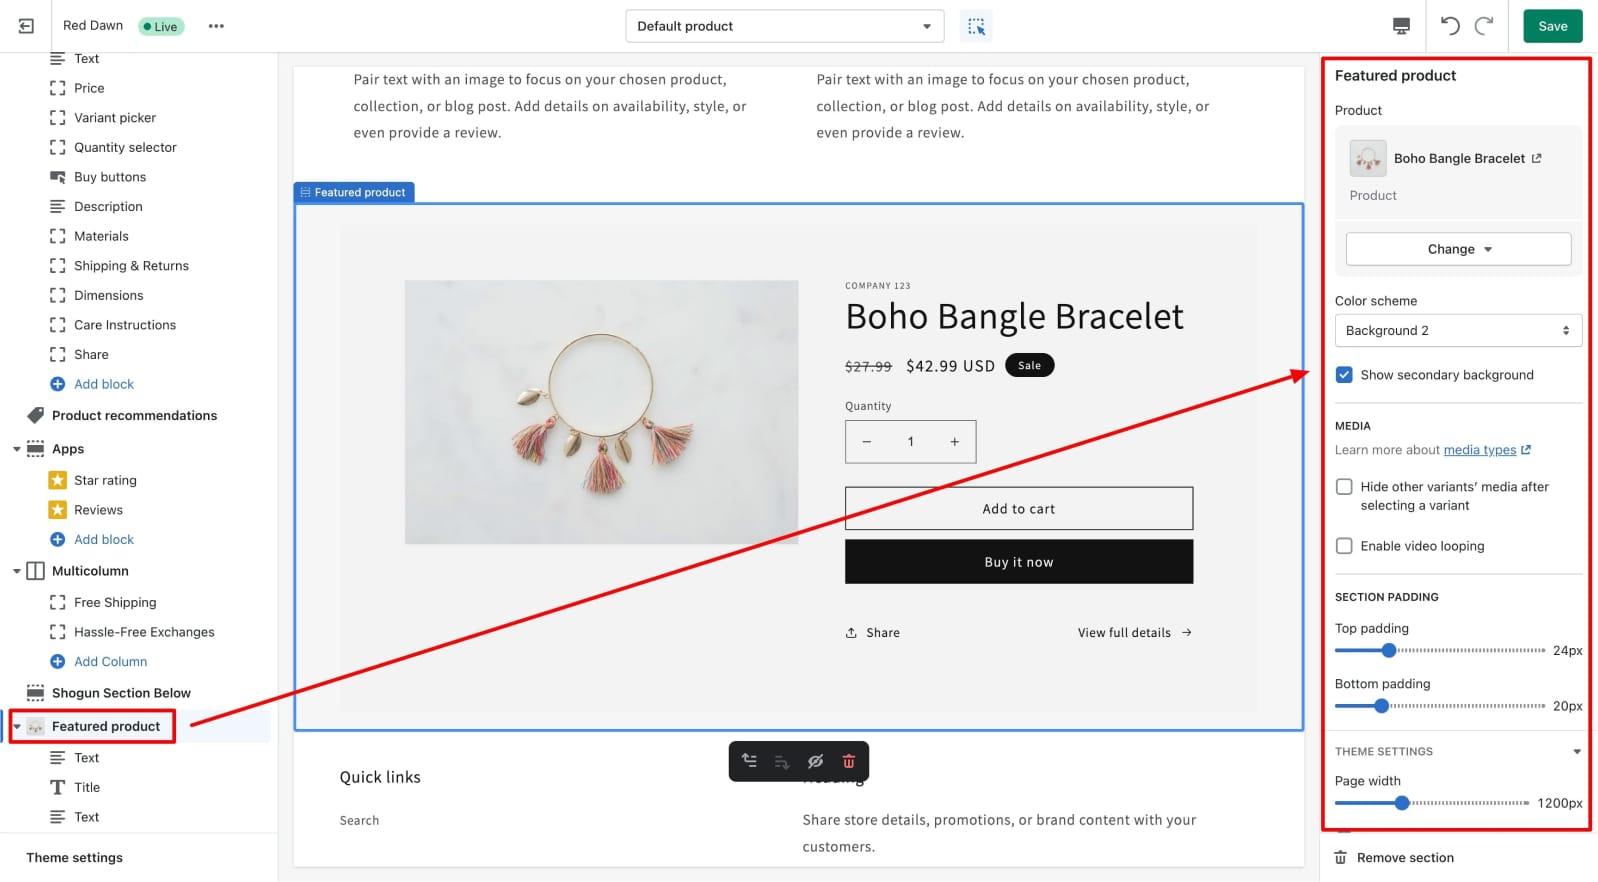
As you might expect, each section and block will have different customization options. Some will allow you to change heading text, images, alignment options, colors, and even margins. Others will have very few options to choose from.
Creating Custom Sections for Shopify Themes
While the Shopify Theme Editor allows you to work within the restraints of your theme to make changes to blocks and sections, there is a way to make some extra, custom changes. Working with a Shopify developer, you can create a custom-coded section for your website pages, and add it to your store using the Shopify Code Editor.
It’s worth making sure you have the code created by a professional with plenty of experience in Liquid and other coding languages, so you can avoid breaking your theme.
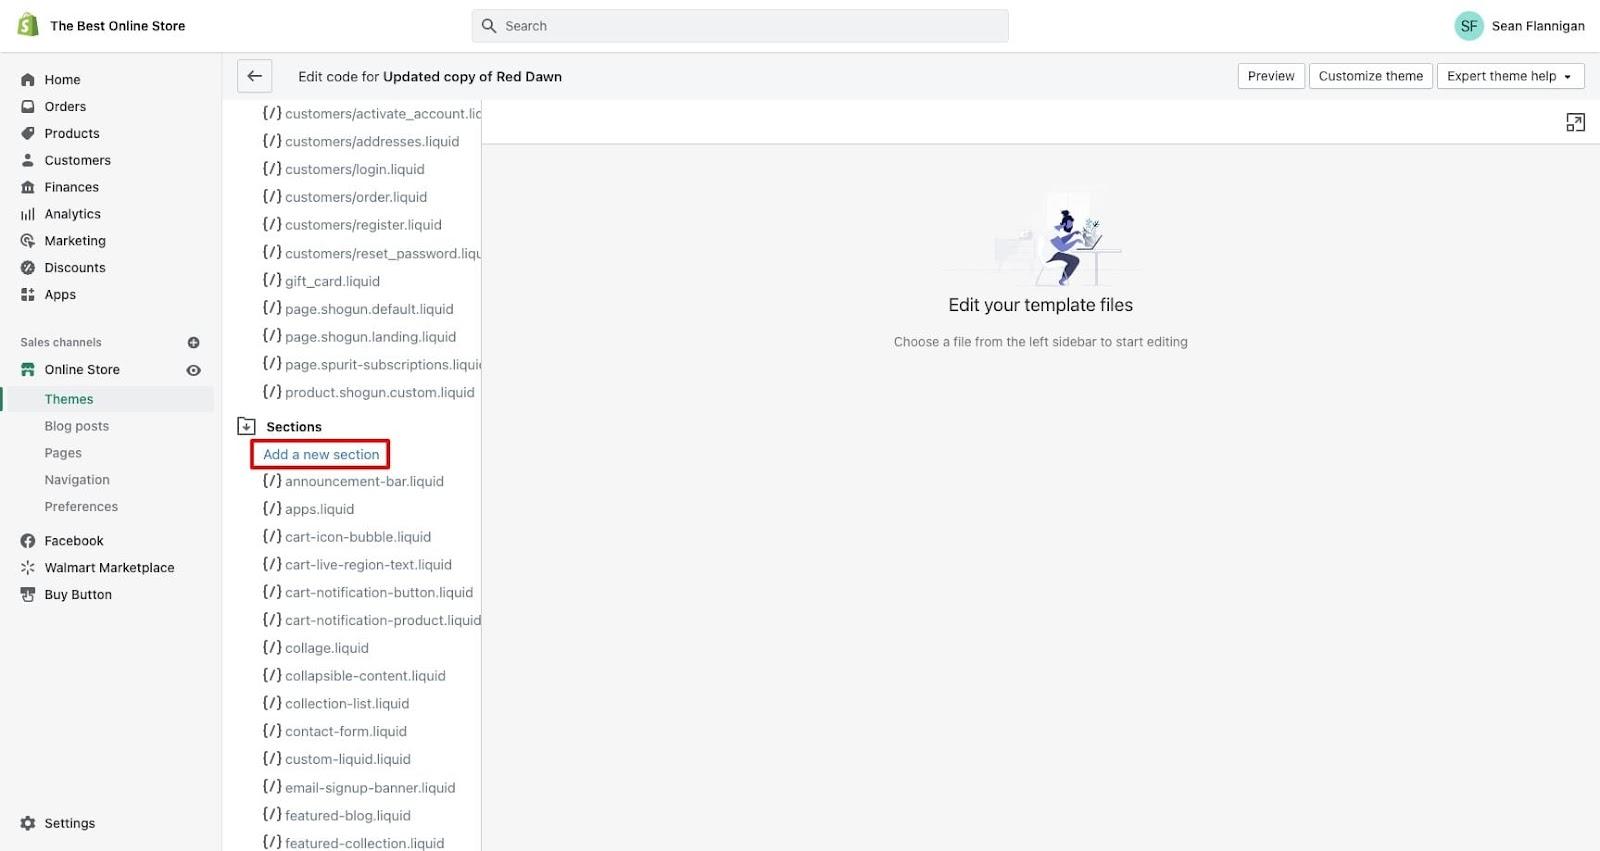
Once you have your custom coded section, head to the code editor within Shopify. You can find this by tapping “Store”, then “Sales Channels” and “Online Store” in Shopify. Tap on “Mange Themes” and click the “…” button to open the menu and click “Edit Code”.
Within the Code Editor, scroll down to the Sections folder, and click on the “Add a New Section” option.
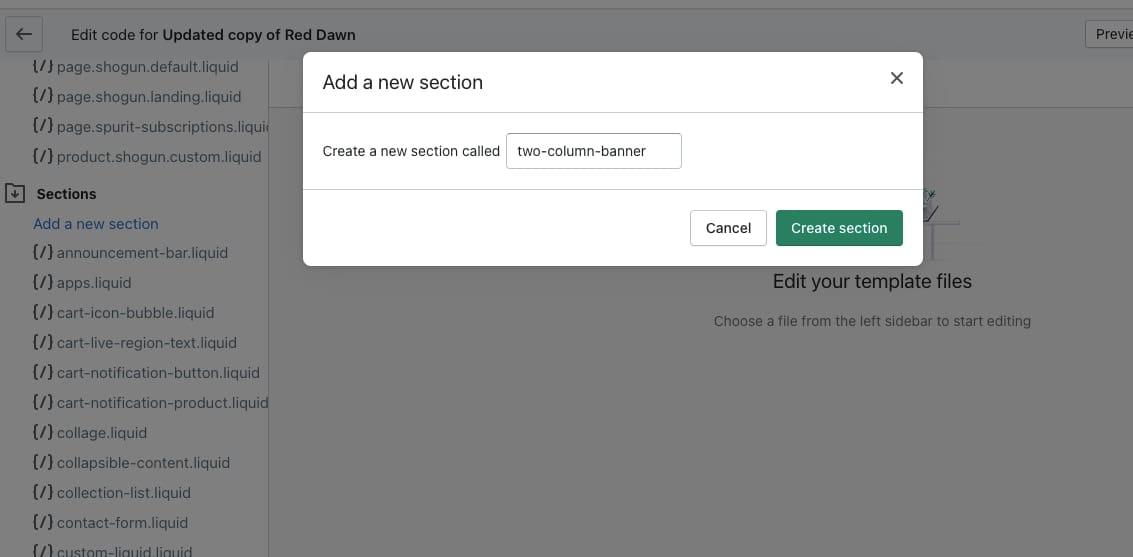
At this point, you’ll be asked to enter a name for your new Section, so you can easily identify what it’s for. If you need to use multiple words, you’ll also have to add dashes between each word in your title, to adhere to Shopify’s naming conventions.
When you’ve chosen your name, click “Create Section”.
Now you’ll be able to add custom Liquid code to your new Section. The new section file will come with a simple template, with spaces to add your section scheme, CSS stylesheet assets, and any JavaScript you might want to include.
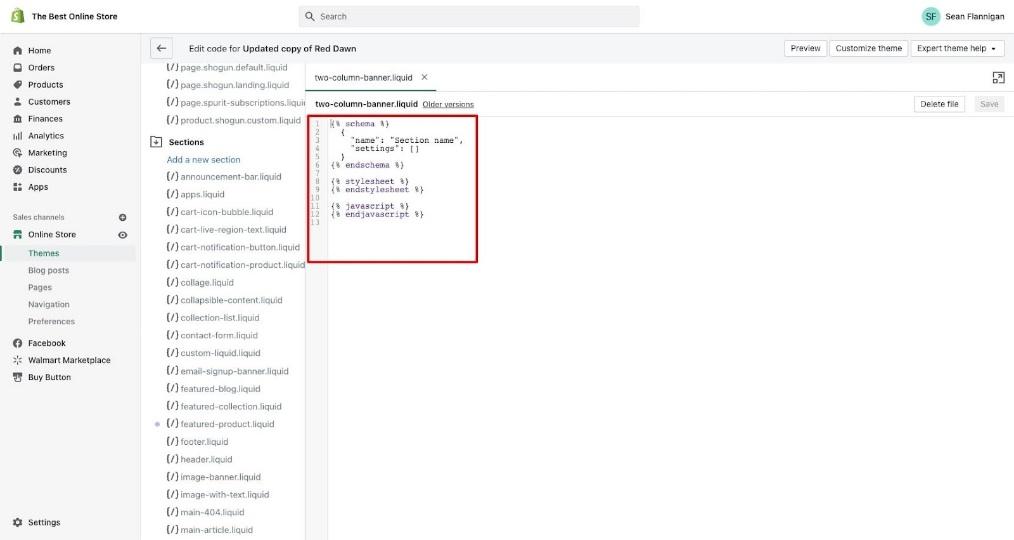
Provided your new code includes all of the right information, the new section should be available to add to your theme within the Shopify Theme Editor once you’ve saved it. You can choose whether you want to limit the types of pages it can be used on, or make it available to sue anywhere.
Keep in mind, while all of this might sound pretty straightforward, custom coding your own sections for a Shopify theme can be a little complicated. You’ll need to work with an expert to ensure you actually unlock the right functionality for your new Section.
Making the Most of Shopify Sections
Shopify Sections are a valuable addition to the Shopify Theme Editor, particularly now that you can customize and edit them on every page template. However, you’ll still be limited by the theme you choose, unless you consider working with a developer.
If you want to unlock new functionality, or update the layout for your Shopify store with custom Sections, reach out to the team at Storetasker today, to find a Shopify expert to help you. Our design and development pros will have your store looking perfect in no time.


Shopify Expert?


